今回業務で開発しているプロジェクトにReactを入れてみることになりました。
それにあたって、学習のためにReactのサンプルプログラムを作成しようと思い、そのための環境構築をしたのでその手順をまとめていきます。
create-react-appについて
Reactで書かれたプロジェクトはビルドする必要があるので、WebPackなどのツールをいれていろいろ設定しないといけません。
しかし、Reactの開発元であるFacebookが、素早くプロジェクトを作成して開発することができるコマンドラインツール、create-react-appを公開していまして、これを使用するとものすごく簡単に環境構築をすることができます。
初心者だとつまづきがちな環境構築を簡単にすることができるのはありがたいです。
手順
ここから具体的な手順を説明していきます。
npmをインストールする
npmが使える必要があるので入っていない場合はインストールしていきます。
npmはNode.jsのパッケージ管理ツールです。
npmのインストールの手順に関してはこちらの記事にまとめてあるのでインストールしてない方は、こちらを参考にしてください。

create-react-appをインストール
create-react-appをインストールします。
npm install -g create-react-app
これで環境構築は終了です。
とても簡単ですね。
次にプロジェクトを作成します。作成したいディレクトリに移動して、以下のコマンドを叩きます。
create-react-app (project_name)
今回はreact-sample-appというプロジェクト名にしましたので、以下のようにしました。
create-react-app react-sample-app
実行するとこのようになります。
$ create-react-app react-sample-app

Creating a new React app in /react-sample-app.

Installing packages. This might take a couple of minutes.
Installing react, react-dom, and react-scripts...

yarn add v1.3.2
info No lockfile found.
 🔍  Resolving packages...
 🚚  Fetching packages...
 🔗  Linking dependencies...
 📃  Building fresh packages...
success Saved lockfile.
warning Your current version of Yarn is out of date. The latest version is "1.7.0" while you're on "1.3.2".
info To upgrade, run the following command:
$ brew upgrade yarn
success Saved 967 new dependencies.
├─ [email protected]
├─ [email protected]
├─ [email protected]
├─ [email protected]
︙
├─ [email protected]
├─ [email protected]
├─ [email protected]
└─ [email protected]
✨  Done in 12.66s.

Success! Created react-sample-app at /react-sample-app
Inside that directory, you can run several commands:

  yarn start
    Starts the development server.

  yarn build
    Bundles the app into static files for production.

  yarn test
    Starts the test runner.

  yarn eject
    Removes this tool and copies build dependencies, configuration files
    and scripts into the app directory. If you do this, you can’t go back!

We suggest that you begin by typing:

  cd react-sample-app
  yarn start

Happy hacking!
$
無事成功しました。
最後の部分に説明書きがあって、
yarn start
というのを実行すると、開発用のサーバーが起動するとのことです。作成されたディレクトリ内に移動して実行します。
僕の場合はyarnでしたが環境によってnpmだったり違うので、表示されたとおりにやれば問題ないと思います。
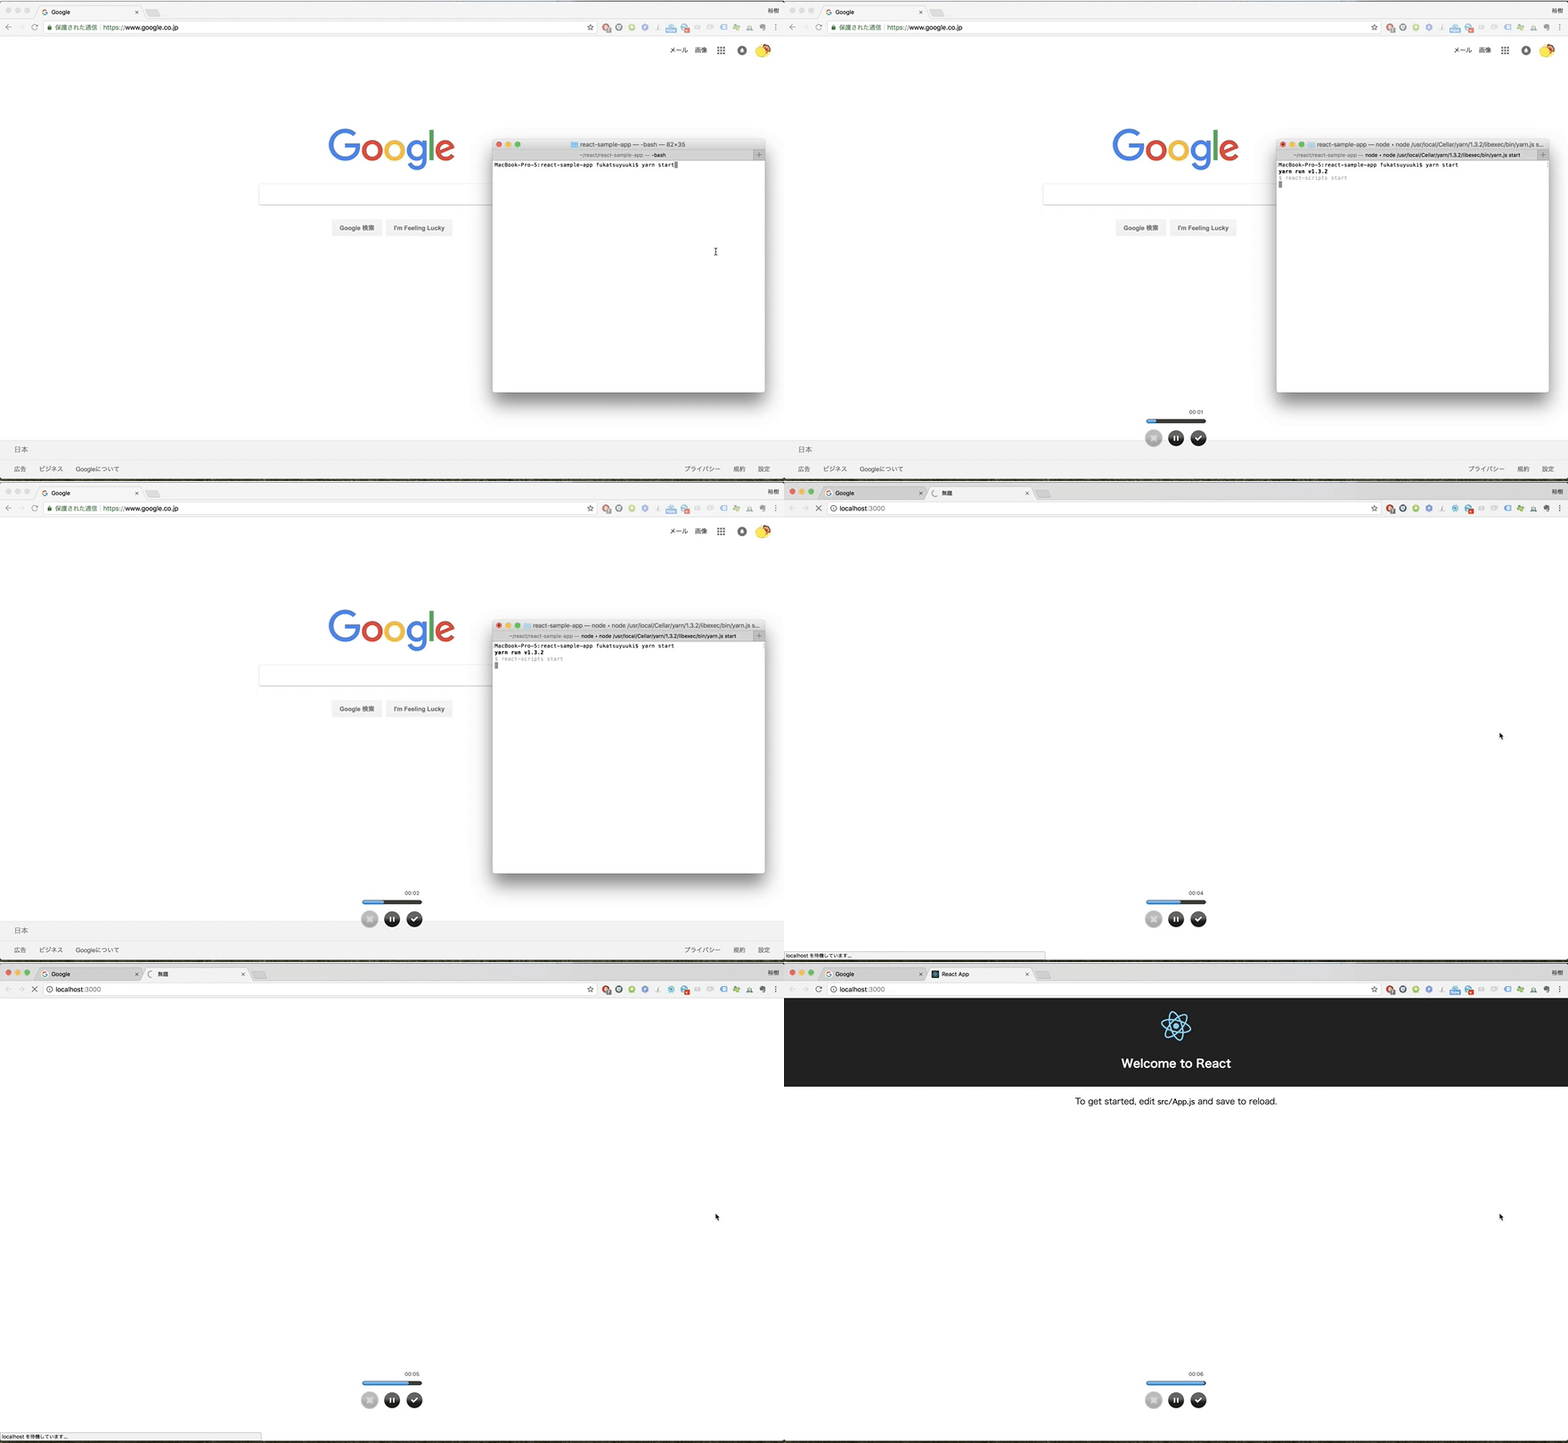
こんなかんじで自動でブラウザが開いて起動されます。
止めたい場合は「command + C」で停止します。
プロジェクト内のコードをいじった際にはすぐ勝手にビルドして反映してくれるので開発もすごくしやすいです。
今後の展望
さて、Reactを開発していく環境が整いましたので、今後はReactのチュートリアルを手順通りに作成してみて学習していこうと思っています。
実際にやってみたのをこちらの記事にまとめたのでよかったらどうぞ!
